
Creating a Tan Timeline: How to Guide Your Clients Through Tanning for Events
From weddings and proms to vacation glow-ups and photoshoots, your clients want to look flawless for their big moments. But if they show up the day before their event without prepping—or worse, without knowing what to expect—you’re left scrambling.
Enter: the Tan Timeline.
By educating your clients on when to book, how to prep, and how to maintain their glow, you’re not just delivering a killer tan—you’re delivering peace of mind. Let’s break down exactly how to create and communicate a tan timeline that sets your clients (and your business) up for success.
Why a Tan Timeline Matters
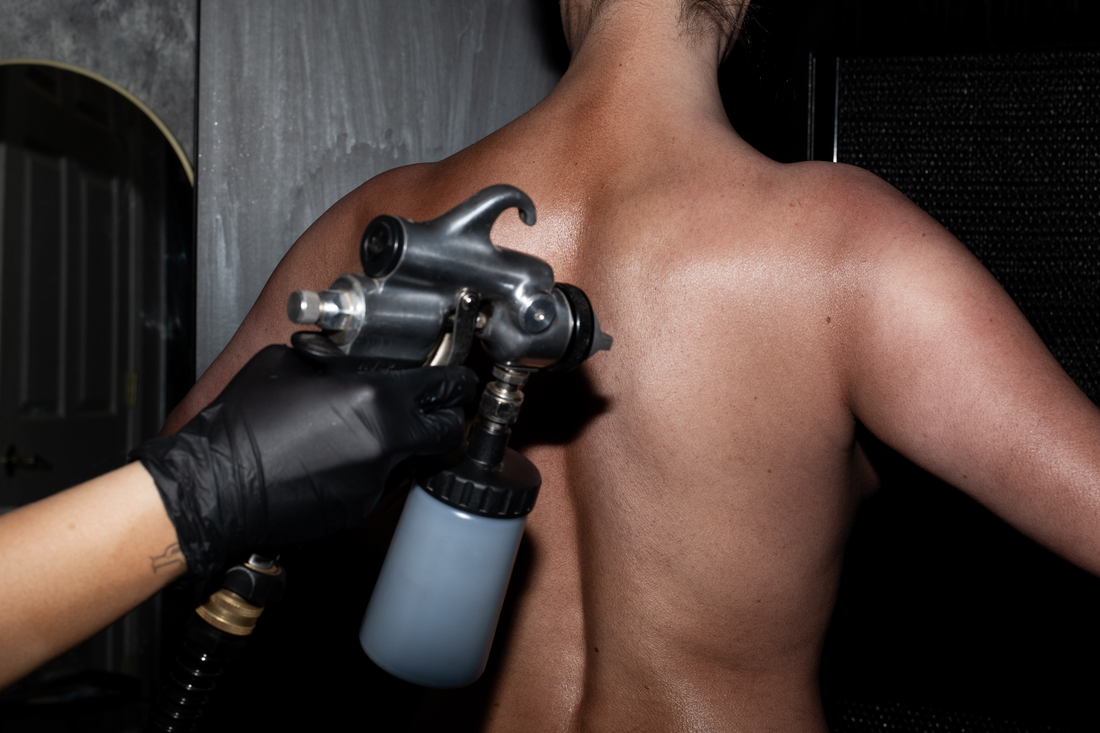
Spray tans are not one-size-fits-all. How and when your client tans depends on the event, their skin type, and their comfort level. A tan timeline helps:
- Avoid day-of disasters (hi, bridezilla panic)
- Ensure even, developed color
- Give clients time to get comfortable with their glow
- Set realistic expectations about fading and touch-ups
Your clients aren’t the experts—you are. Guiding them with a confident, clear plan is part of being a next-level artist.
The Ideal Tan Timeline (Standard Events)
3-4 Weeks Before the Event
- Have your client come in for a trial tan if they’ve never been sprayed before or are nervous about the color.
- This is key for weddings, special photoshoots, or first-timers.
3–4 Days Before the Event
- This is the sweet spot for the actual spray tan.
- It gives the tan time to fully develop, settle, and soften into its most natural phase.
- It also gives you time to address any rare issues (touch-ups, uneven fading, etc.).
1 Day Before the Event
- Final skincare check: moisturize, avoid harsh exfoliants, and don’t apply heavy oils or lotions.
- NO spray tanning the day before unless it’s an express tan and you know the client is experienced.
Event-Specific Timelines
Bridal Tan Timeline
- Trial Tan: 6–8 weeks before the wedding
- Final Tan: 2–3 days before the big day
- Encourage a trial wearing the full wedding look (white dress, makeup) to test how the color photographs
Vacation Glow Timeline
- Tan Date: 1–2 days before departure
- Prep: Exfoliate 24–48 hours before, pack aftercare products (Luxe Lotion, Tan Extender, DHA Body Wash!)
- Pro tip: offer a travel-sized bundle for on-the-go maintenance
Photoshoot Timeline
- Tan Date: 2–3 days before shoot
- Avoid tight clothing, bras, or anything that might rub off color prior to the session
How to Share This With Clients
You’re the expert—it’s your job to guide them!
Try this:
- Add a “Tan Timeline” section to your website or booking page
- Include a tan prep and aftercare guide in confirmation emails
- Post educational stories or reels on Instagram like “When should I get sprayed for my wedding?”
- Have physical cards or a printable Tan Timeline you can hand out in-studio
The more clear, consistent, and confident you are in sharing this info, the more clients will trust and follow your recommendations.
Bonus Tip: Build a Bundle Around Their Event
Make it easy for them to stay glowy and stress-free by offering pre-packed product kits based on their event:
- Bridal Bundle: Facial Extender, Luxe Lotion, Drying Powder
- Vacation Bundle: Tan Extender, Body Oil, DHA Body Wash (all travel size)
- Photoshoot Prep: Luxe Lotion, Drying Powder, Wash Off Mousse
A well-timed tan = a confident, happy client. And a confident, happy client = rebookings, referrals, and glowing reviews. Don’t wait until they ask—be the expert who maps out their perfect tan timeline before they even need it.
CRAFTED FOR TAN ARTISTS BY TAN ARTISTS.